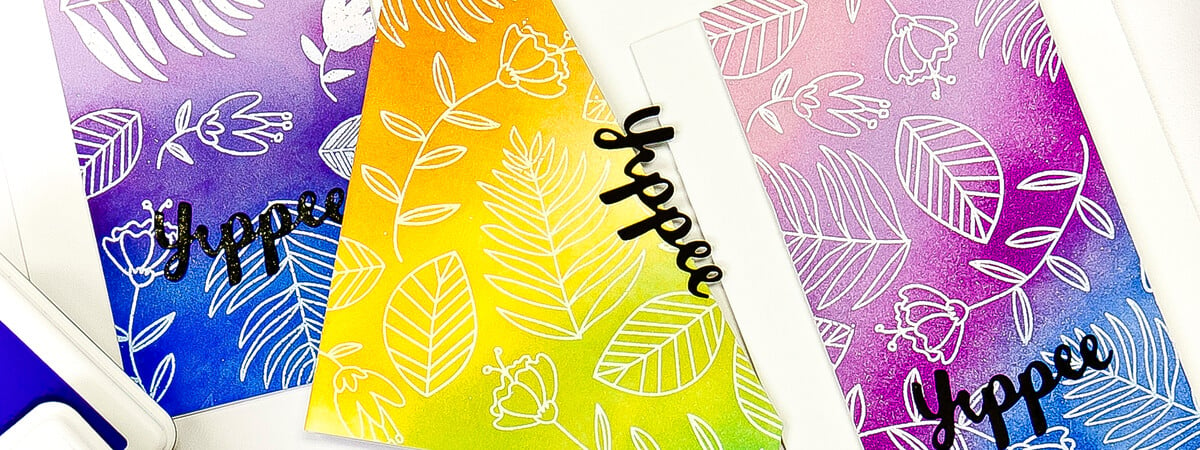
There are many ways to add a unique flair to your handmade cards - from glitz and glam with glitter glues to embellishing with twine and ribbons.
If you're the kind of crafter who wants your card to have that certain je ne sais quoi and leave your recipient thinking, "how did she do that?" - embossing will do the job - and thankfully, it's super easy to do!
What is Embossing?
There are two types of embossing in card making. The first type is where you leave a textured concave or convex impression into a piece of cardstock or paper by using what's called an embossing folder with your die cutting machine. This method is fabulous, but this isn't the technique we're talking about today. We're talking about the latter - no die cutting machine required.
We're talking about a technique that is a stamping method. Embossing leaves a special effect on your stamped image, such as giving it a high-shine, shimmer, or a matte appearance.
There are only a few supplies you need in order to achieve this stunning result.
What Do You Need to Emboss?
To emboss, you'll need a few tools and accessories:
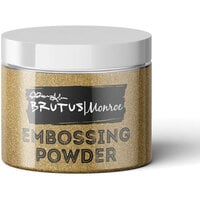
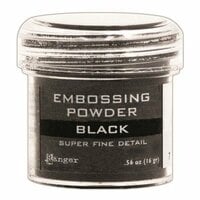
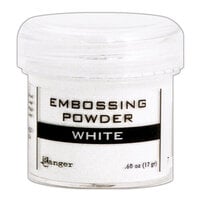
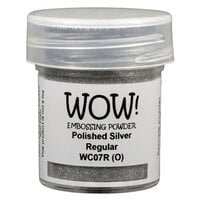
1. Embossing Powder
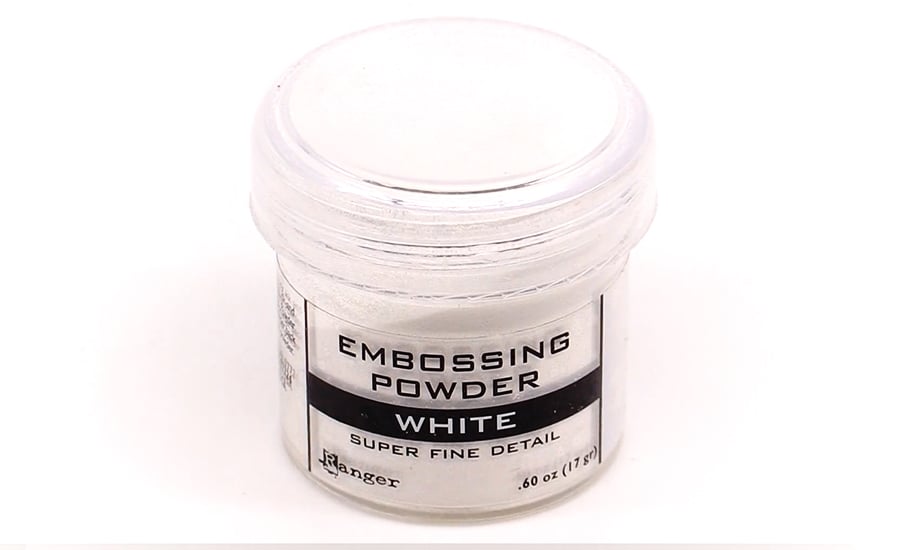
When it comes to embossing powder, the options are nearly limitless. Whether you want a super shiny effect, matte, antique, distressed, metallic... etc., you'll find a powder for it! Think of embossing like pottery - first, you make the pot, then you add the "glaze." First, we stamp the image, then we add our "glaze" - the embossing powder.
The basic premise of embossing powder is that it's really fine ground-up plastic bits that you're going to coat your stamped image with.
Types of Embossing Powder
There are three main "sizes" of embossing powder: extra fine, regular, and ultra thick. If the container of powder doesn't list which one of those it is, it's safe to assume it's Regular.
Extra fine embossing powder works wonders if you're using a very small or fine-detailed stamp. It will help keep your image crisp and clean.
Regular embossing powder works for just about all designs - this is a great "go to" powder.
Ultra thick embossing powder works best with larger stamps but can create very unique effects on all stamping. Play around with this one by trial and error, as your images may not come out crisp.
As for textures, colors, and effects, the options are vast. There are some fun ones like glow in the dark embossing powder and glittery embossing powder!
What Type of Embossing Powder Should You Buy?
Most people start with black or white regular embossing powders (think of them like inks - a black ink and a white pigment ink are great starting points for all of your projects). Most people also enjoy having embossing powder in their favorite color, as well as a metallic option for special occasions.
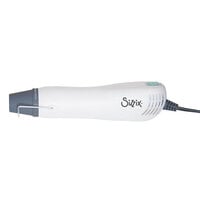
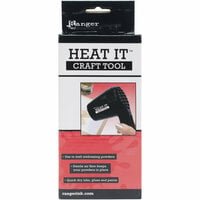
2. Heat Gun
A heat gun is a necessary tool for this type of embossing. You must use heat to cure the embossing powder and "activate" its effects. Essentially, melting the powder to give it its shine, matte, etc., effect.
There are two main kinds of heat guns: the hairdryer-shaped kind and the long skinny kind.
There is one main difference between these two designs: the way they direct heat. The "hairdryer" style spreads heat over a larger surface area, thus, the embossing powder takes a little bit longer to melt. The longer, skinny kind directs heat in a more targeted fashion. This means your embossing powder will melt more quickly. You have to pay special attention to this gun so as to not burn your hands or overheat your project.
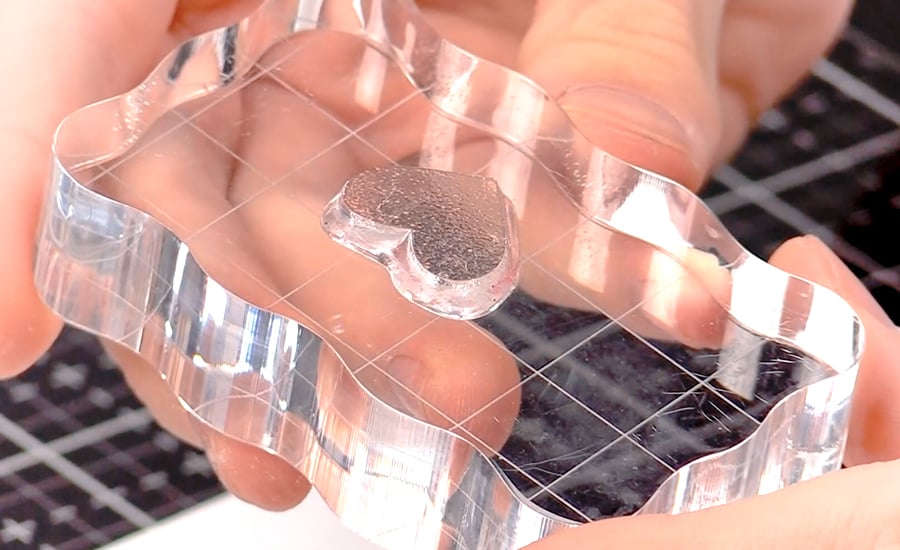
3. Stamps or Stencils
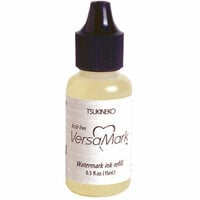
4. Embossing Ink
Embossing Ink is a unique type of Ink that makes the effect possible - it's essentially a glue in an ink pad form, meant to use with stamps. Stamping with a special embossing ink will hold your embossing powder in the location you want it.
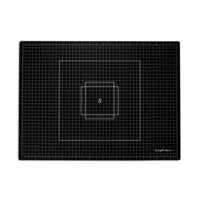
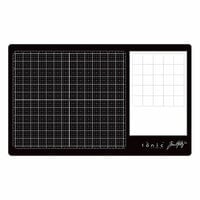
 5. A Craft Mat or Scratch Paper
Lastly, you'll need something to make sure your crafting space stays clean. Embossing powder is similar to glitter - it's fairly easy to get it everywhere. A scratch piece of paper, Workspace Mat, or Glass Media Mat should keep your area tidy.
How to Emboss
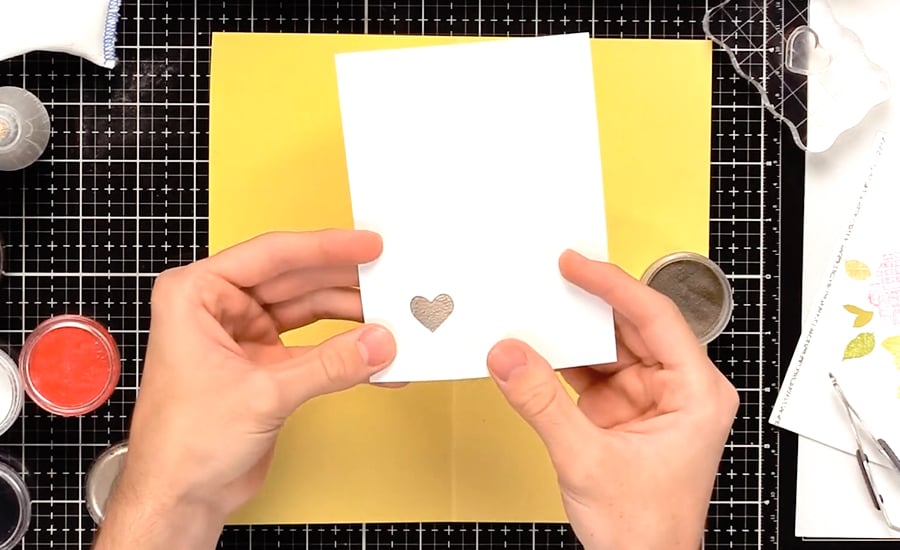
Enough with the product, how the heck do you emboss? This part is easy - if you can stamp, you can emboss!
1. Grab a piece of paper, desired stamp, acrylic block, and embossing ink.
2. Ink your stamp with embossing ink the way you would typically ink your stamp. The embossing ink will be almost invisible. If you tilt the stamp at an angle, you should be able to see some kind of medium on your stamp. Stamp your piece of paper.
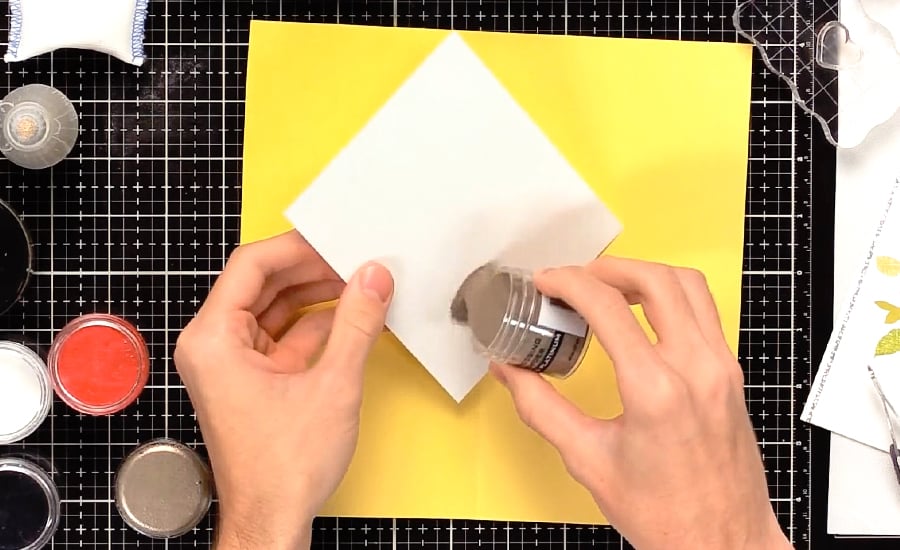
3. Shake up the bottle of embossing powder you want to use prior to opening it, which will ensure that nothing has settled while it was just sitting around.
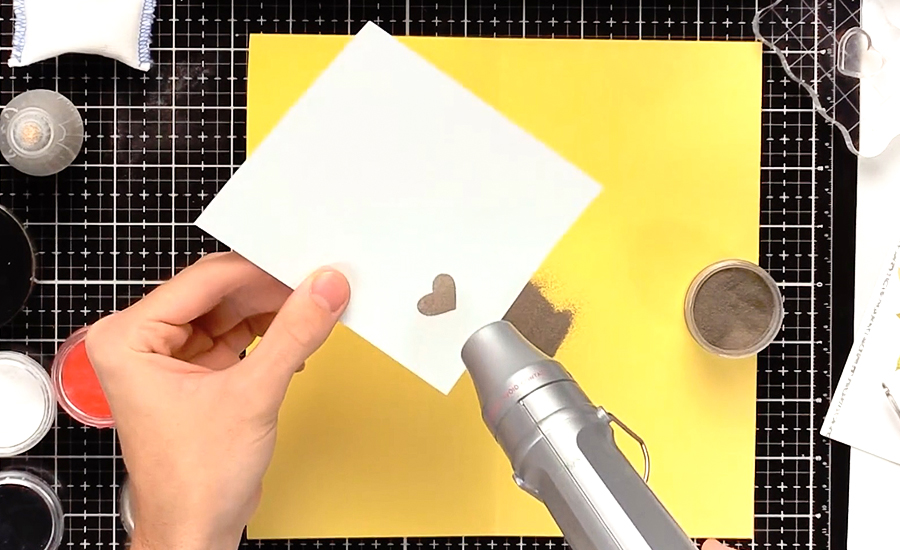
4. Sprinkle embossing powder on your stamped image, holding the paper slightly tilted over whatever surface you're using to catch the powder. Shake on enough so that the powder is sticking to all parts of the stamped image.
5. Turn over the paper with the stamped image, now covered in embossing powder, and thump the back of the paper with your thumb and forefinger a few times. This will get off most, if not all, of the stray bits of powder as well as any excess that you can use again later.
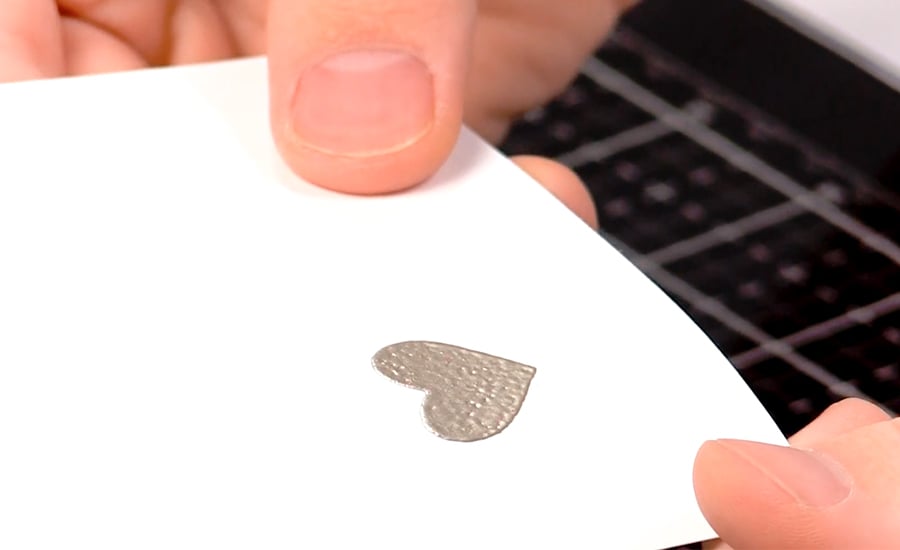
6. Aim your heat gun at the paper, keeping your fingers well away from the path of the heat. Use tweezers to hold the paper if need be. If you're using the hair dryer type of heat gun, hold it about four inches above the image and make little circular motions with it all over your image. It should only take seconds for stuff to start melting. With most embossing powder, you can see it melt - it will go from fuzzy looking to smooth and glossy. Once a part of the image starts melting, move your heat gun to concentrate on another part of the image - remember that you don't want to over melt!
7. Voila! You now have an embossed image! Remember to clean your stamp however you normally do and put the rest of the powder back in the jar.
After the initial investment of a heat tool, embossing ink, and embossing powder, you will be covered for years. These tools and supplies last a long time!
This article was created from a tip submitted by Scrapbook.com member Scrappin Sage and was called "Let's Emboss Everything"